Creating Art While Learning About, And Honoring, Endangered Species Worldwide
Lesson Plans
Objectives: Students will:
- Learn about endangered animals worldwide and gain in-depth knowledge of one particular species.
- Explore the artistic process of making a collage using recycled materials.
- Research ways to protect animal habitats and species and take action to help.
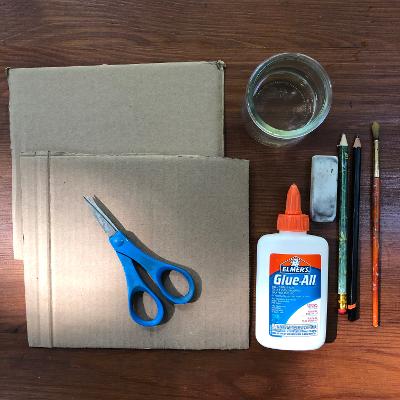
Materials needed: Magazines and old calendars (ideally with good quality printing and colors), advertising flyers, cardboard boxes or cardboard packaging from cereal and cookie boxes, scissors, Elmer’s Glue and small watercolor brush (or glue sticks), pencil, eraser and paper plates, boxes, or baskets to contain cut pieces.
Definition and examples of collages
The word collage is from the French word coller, which means “to glue.” Collage is the process of cutting pieces of paper, cloth, greeting cards or other flat objects (such as photos, ticket stubs) and assembling and gluing them on a flat surface. Artists who have created collages include Pablo Picasso, Henri Matisse, and Romare Bearden.
Time frame: These sequential steps can be done over a period of 5 – 6 classes of 45 – 60 minutes per class.
Step 1. Introduce the topic of Endangered Species and ask students what they already know about particularly vulnerable species and their habitats, survival challenges, etc. Invite students to look at books or online resources for lists of endangered animals. Encourage students to consider mammals, birds, reptiles and insects from different parts of the world. Ask students to select and print a clear, visually appealing image of one animal of particular interest.
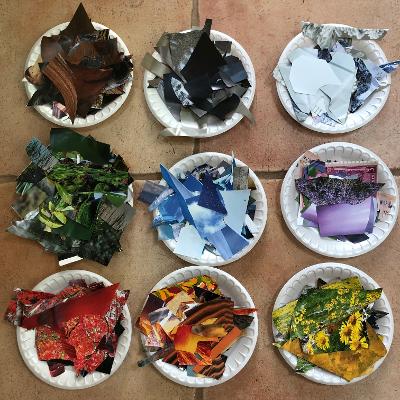
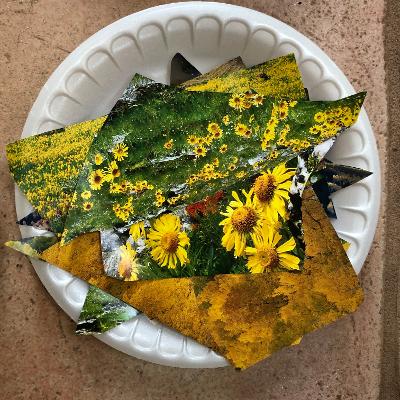
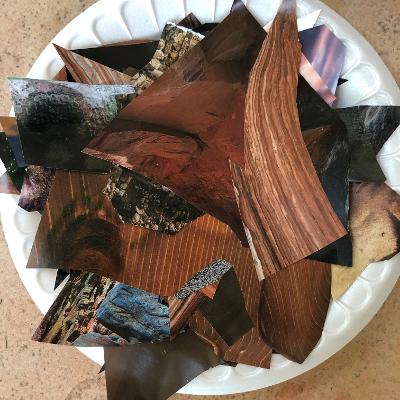
Step 2. Have students look at magazine and calendar pages (or any printed papers) for their color and texture – not subject matter – and then, scissors in hand, cut swaths of paper based on color and texture. Sort the swaths by color and put them in a plate or container designated for that color. This could be done by each individual student for the student’s own use, or by the class as a whole to create a shared collection.


Step 3. Cut sections from the sides of cardboard boxes to serve as canvases. This is best done ahead of time by the teacher as most cardboard requires box cutters. Pieces could include rectangles and squares and range from 8” x 8” to 8’’ x 10”. Size doesn’t matter, but this range might work best.
Step 4. Have students make a pencil drawing of their selected animal on a piece of cardboard, using the printed image for reference.
Step 5. Ask students to determine the colors and textures needed for the animal and background and collect pieces from the “palettes” to have readily available. Colors and patterns can be realistic or whimsical, but close enough to the real animal’s patterns (stripes, dots, gradations, etc.) to be recognizable. Alternatively, students could choose a pattern for the animal that is representative of its geographical region/culture and, for the background, use cut pieces of maps of areas where the animal lives. (See the Asian Elephant image in We, The Ark for an example of this approach.)
Step 6. If selecting Elmer’s Glue, use a small container and mix the glue with a little water to thin it. Have students cut pieces of paper from their individual “palette,” mosaic-like, to fit their animal drawing and glue the paper in place. This is the most challenging step and takes time and patience to estimate size and placement.
Step 7. Have students prepare a written report on their chosen animal and present the report orally to classmates. The class could also make a large display of its animal collages to share with the school. Include information about specific organization(s) that are working to protect endangered animals. Encourage students to take action by writing letters (to elected officials, newspapers, etc.) and/or fundraising (with a bake sale, car wash, or other creative individual or group project).
Lesson plan created by artist and art educator Carolyn Peirce.
